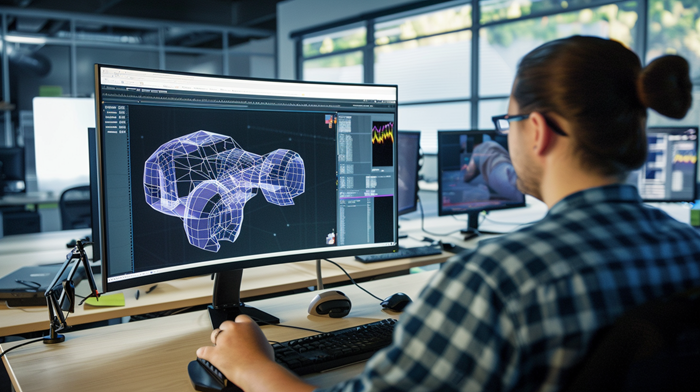
3D interior visualization is a way to see how a space will look after a renovation or update, without having to buy furniture or repaint the walls “at random.” It helps coordinate the layout, select materials and lighting, and avoid costly mistakes during the implementation phase.
Visualization is also useful in everyday tasks: from choosing a kitchen and arranging appliances to presenting a concept to a client or preparing a property for sale. In some scenarios, virtual home staging is used (once) to show potential buyers different design options for the same room.
Tips for preparing and checking the result
Create several options. At least two: “calm basic” and “with accents.” This makes it easier to choose a direction and justify your decisions.
Shoot scenes from different angles. One beautiful angle can hide inconveniences. Include views of the entryway, passageways, kitchen countertops, and storage areas.
Check the scale. Compare objects to human height and standard dimensions: tabletop depth, chair height, cabinet width, rug size relative to a sofa.
Don’t pursue hyperrealism at the expense of clarity. Sometimes a slightly simplified but carefully composed visualization better explains the concept than a “photorealistic” one, which loses the composition.
Record your decisions. After approving the visualization, compile a short list: wall/floor finishes, lamp styles, color palette, hardware type, key dimensions. This way, a 3D image will turn into a clear action plan.
Summary: What tasks does 3D visualization solve in apartment and house design?
3D visualization translates ideas into a clear picture: it shows the future interior before work begins, helps coordinate decisions with the family and designer, and avoids “surprises” on the construction site.
It serves as a control tool: it identifies inconsistencies, verifies combinations of materials and lighting, speeds up the selection of furniture and finishes, and also provides a basis for accurate calculations and a clear implementation plan.
Key tasks of 3D visualization
- Layout check: assessing zoning, circulation, furniture arrangement, storage logic, and ergonomics.
- Style coordination: selecting a color palette, textures, decor, and overall mood (e.g., minimalism, Scandi, neoclassical).
- Material testing: comparing finishes, combinations of wood, stone, metal, textiles, flooring, and doors.
- Lighting setup: testing lighting scenarios, temperature, accents, shadows, and the influence of daylight.
- Error prevention: early detection of visual and functional conflicts (overcrowding, disproportion, “controversial” combinations).
- Budget optimization: replacing solutions with similar in appearance but more cost-effective ones; Reduced rework.
- Speed up decision-making: quick edits, before/after comparisons, choosing from multiple concepts.
- Preparation for implementation: clarify dimensions and references for furniture, appliances, and built-in solutions to help the project transition more easily to working documentation.
- Formulate the task and list required elements (storage, workspaces, living scenarios).
- Compare 2-3 options for layout, materials, and lighting, and then select the best.
- Record the final design and use it as a guide for purchasing and on-site work.
Result: 3D visualization helps you see the result in advance, make informed decisions, reduce risks and costs, and achieve an interior that meets expectations and works well in everyday life.